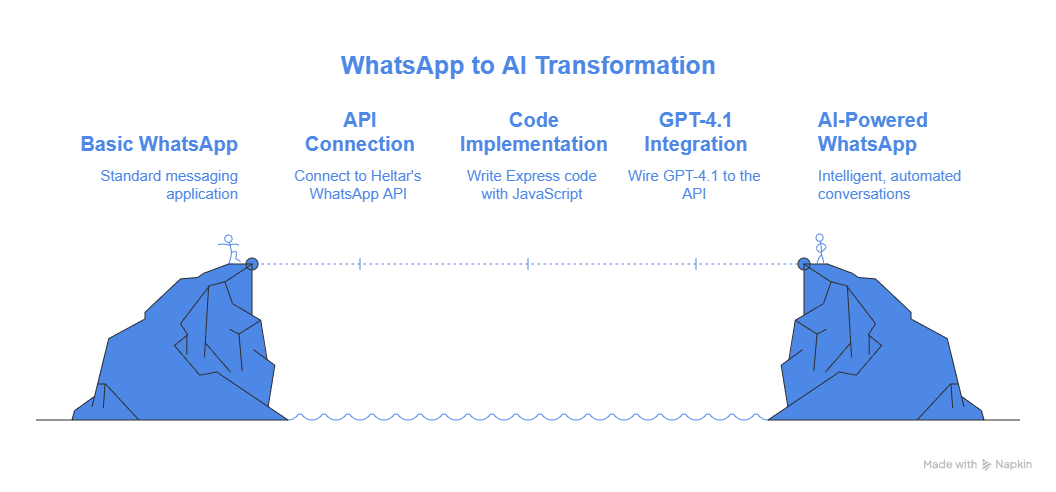
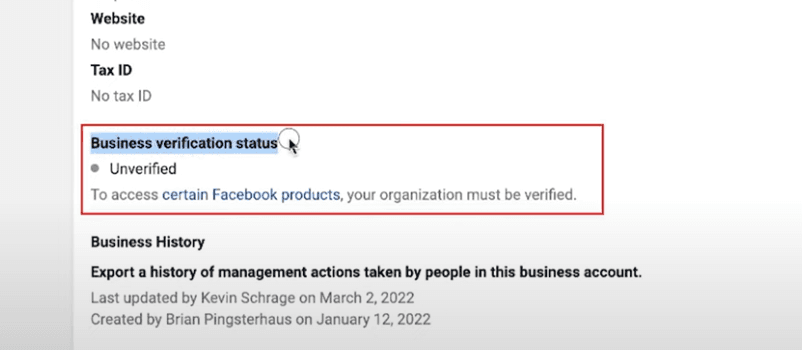
Having trouble getting your WhatsApp Business account verified? Don’t worry—we’ve outlined a step-by-step guide to help you resolve the "Unverified" status quickly. Follow these steps to ensure your account is set up and verified properly.
Step-by-Step Solution to Fix "Unverified" Status
Step 1: Ensure your account details are accurate
Before starting the verification process, double-check all your business details, such as the business name, address, and contact information. Accurate information is essential for successful verification.
Step 2: Go to the Security Centre
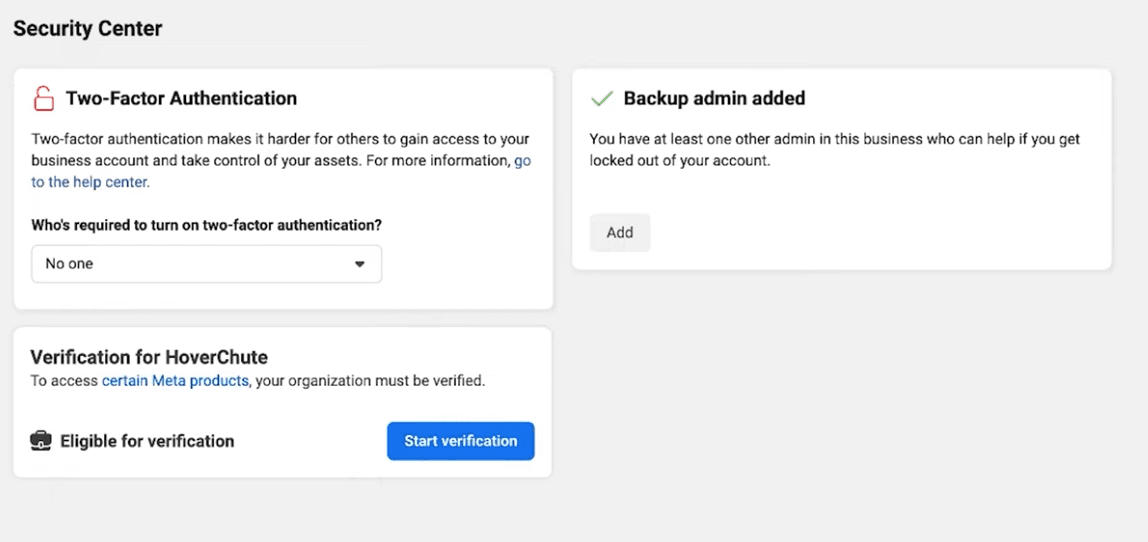
Log in to your Facebook Business Manager and navigate to the Security Centre. This is where you will manage your verification settings.
Step 3: Enable two-factor authentication
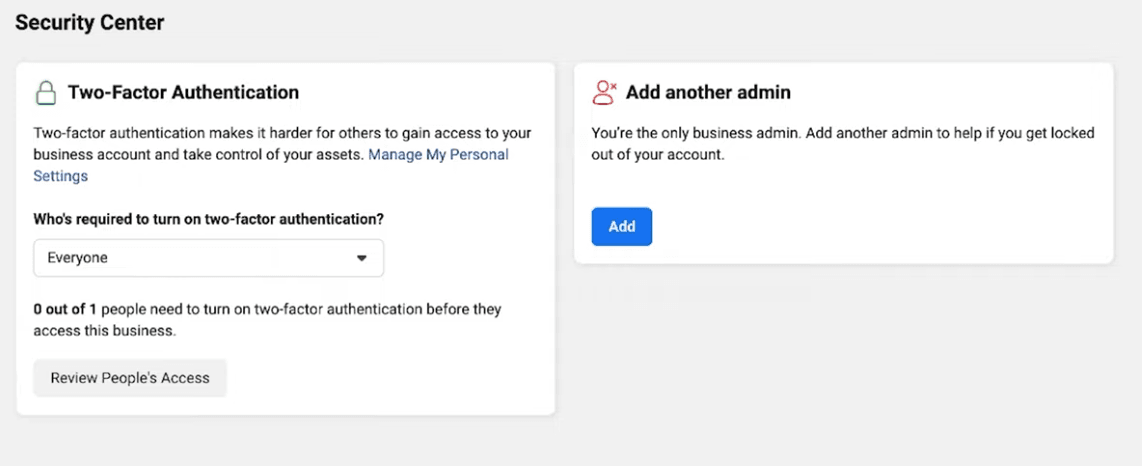
Under the Security Centre, locate the option titled "Who’s required to turn on two-factor authentication". Set it to "Everyone". This ensures your account has the necessary security features in place for verification.
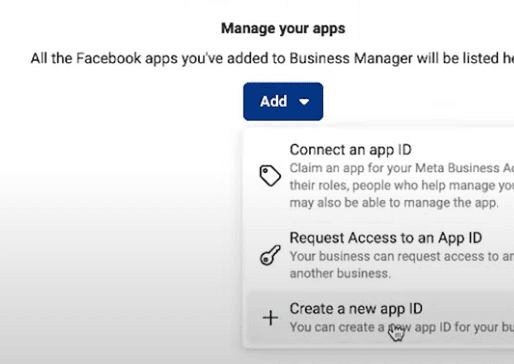
Step 4: Add an app under the "Accounts" section
Go to the "Apps" tab, located under the "Accounts Section", and click on "Add". This allows you to link your business app to the verification process.
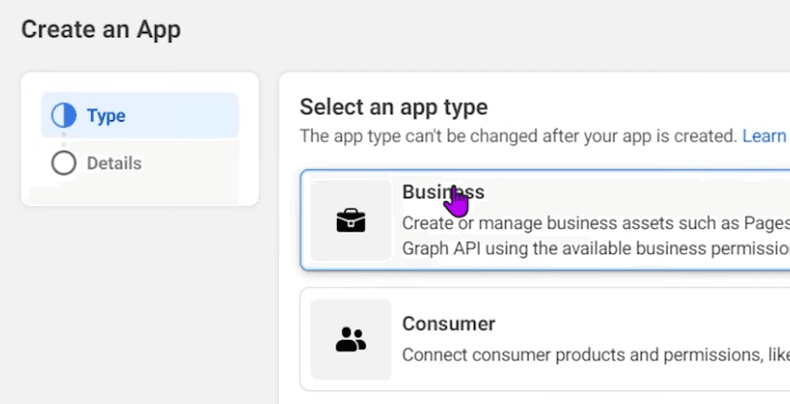
Step 5: Add app details
Select "Business" as the app type. Enter the app details carefully, including its name, purpose, and other required fields. Once done, click "Next" to proceed.
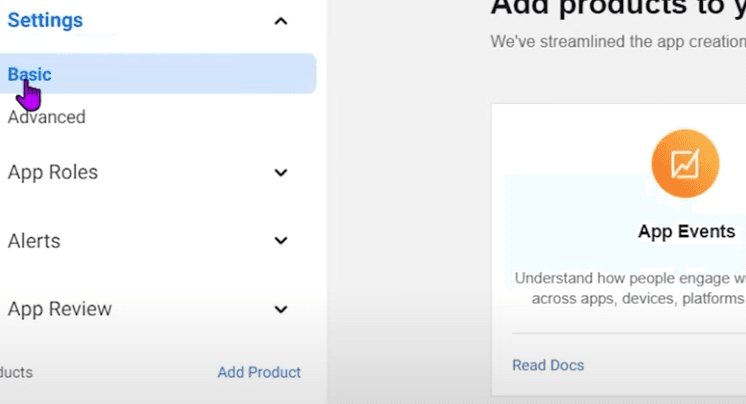
Step 6: Complete basic settings
Navigate to the Settings section and click on "Basic". Fill out all the fields correctly, such as your app's privacy policy URL, app icon, and description. Ensure all fields meet Facebook’s guidelines.
Step 7: Return to the Security Centre and verify
Once the app details are complete, head back to the Security Centre. Look for the "Verify" option and click on it. This will initiate the verification process for your account.

Step 8: Complete the verification process
Follow the on-screen instructions carefully. Click on "Continue" and provide any additional details if required. Once all steps are completed, your account should transition from "Unverified" to "Verified."
Understanding the "Unverified" Status
The "Unverified" status often appears when certain mandatory fields or security settings are incomplete. This status indicates that your business has not yet met WhatsApp’s verification criteria. Key factors include missing information, lack of compliance with Facebook’s policies, or security vulnerabilities in your account. Resolving this requires a thorough review of your setup.
Need Additional Support?
If you’re still experiencing issues after following these steps, visit our blog for more insights and troubleshooting tips: Heltar.com/blogs. Our resources are designed to help you maximize the potential of your WhatsApp Business API.


